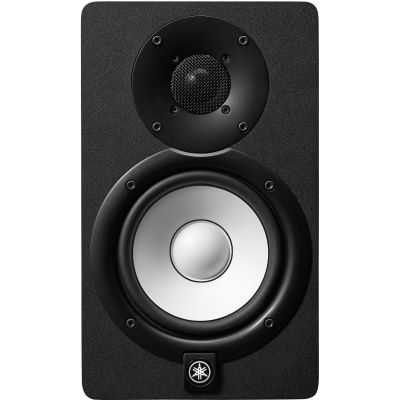
Align Listening Position & Monitors
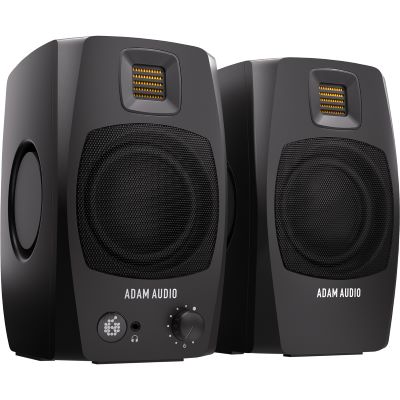
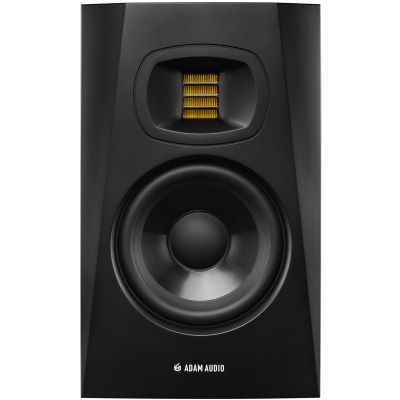
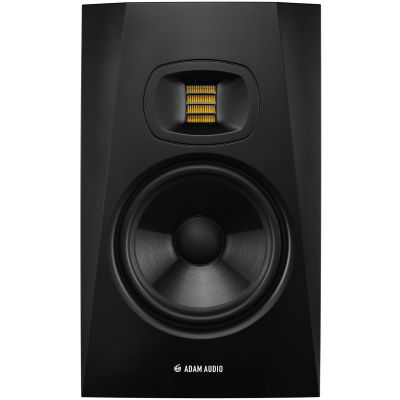
Create a symmetrical stereo setup. Keep both monitors equally distant from your head, point them towards the listening position and position the intended acoustic axis approximately at ear height.

Booming bass, an unstable stereo image or too much room sound cannot simply be repaired with another plug-in. Good home-studio acoustics start with the listening position and correct monitor placement. Only then should absorption, bass control, isolation and, where appropriate, diffusion be added deliberately. Finally, listening tests and measurements help you check whether the changes actually improve your working position.
Do not begin by covering every free wall with acoustic material. First determine whether the problem comes from the listening geometry, early reflections, low-frequency room modes or the recording position.
Create a symmetrical stereo setup. Keep both monitors equally distant from your head, point them towards the listening position and position the intended acoustic axis approximately at ear height.
Early reflections require a different solution from booming low frequencies. Broadband absorption can help at reflection points, while effective bass treatment generally requires considerably more material depth.
Compare familiar reference tracks before and after each change. If available, use a measurement microphone to compare positions objectively. Small movements can make substantial differences, especially in the bass range.
Absorbers, bass traps and diffusers change reflections and reverberation inside a room. They do not automatically prevent music from reaching neighbouring rooms or external noise from entering your studio. Effective sound insulation is a separate constructional task.
The sound reaching your ears consists of direct sound from the studio monitors plus reflections from the desk, walls, ceiling, floor and furniture. This is why the same pair of monitors can sound very different in two different rooms.
Standing waves can produce large peaks and deep nulls at particular positions. If your head is located in a strong cancellation, simply adding EQ is not a reliable solution.
Reflections arriving shortly after the direct signal can create comb filtering and reduce stereo precision. Symmetry and treatment of relevant first-reflection areas can therefore be important.
In a small untreated room, reflections can remain clearly audible on speech, vocals and acoustic instruments. The aim is not necessarily a completely dead room, but a controlled and reasonably even decay.
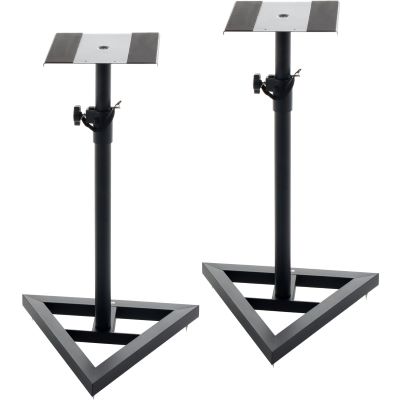
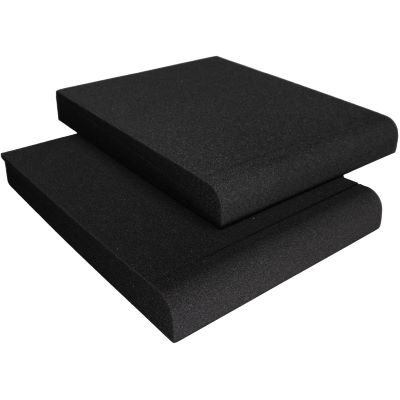
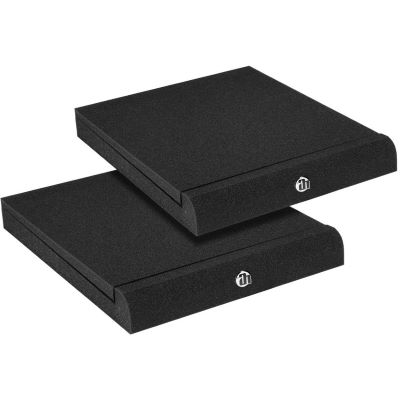
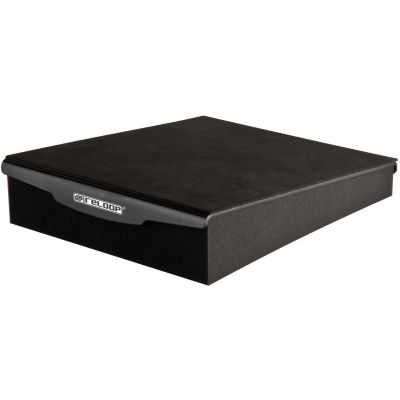
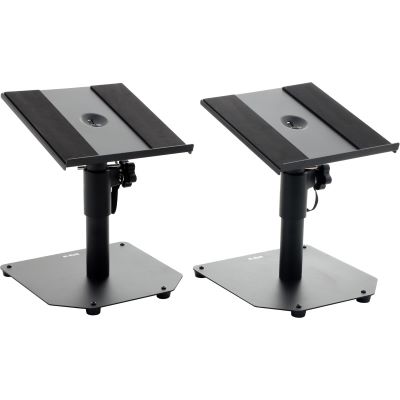
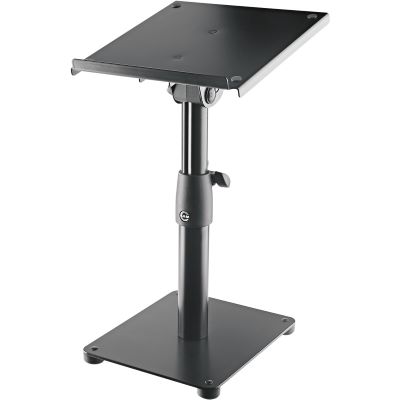
Isolation pads and stands can reduce direct mechanical transfer into furniture or the floor and often make correct loudspeaker positioning easier.
First test different positions for the monitors and listening seat. If the problem remains, sufficiently deep broadband absorbers or bass traps are much more relevant than thin foam panels.
Check equal speaker distances, symmetrical placement and toe-in first. Reflections from side walls and the studio desk can additionally reduce phantom-centre stability.
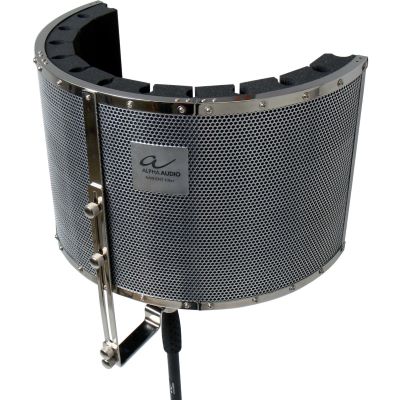
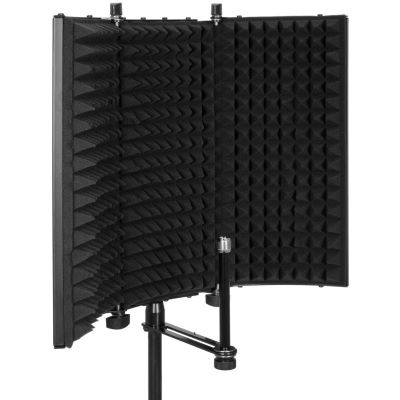
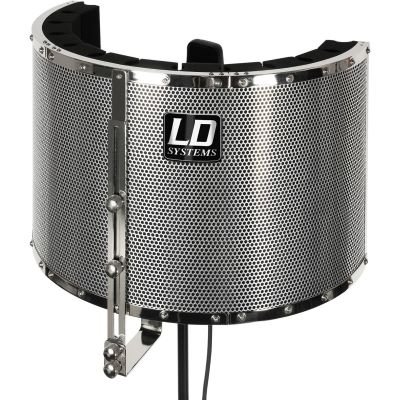
Change microphone position and the distance to reflective boundaries. Mobile absorbers and recording shields can reduce nearby reflections, but they do not replace complete room treatment.
Decouple the monitors from the work surface or use separate monitor stands. This can reduce mechanical transfer while also giving you more freedom to optimise speaker height and distance.
Start by creating an approximately equilateral stereo triangle. The left and right monitors should be equally distant from your listening position and point towards it.
A stereo angle of around 60 degrees is a useful starting point. Position the acoustic axis specified by the manufacturer approximately at ear height.
Try to keep the acoustic conditions to the left and right similar. A loudspeaker directly beside a solid wall while the other sits next to an open space creates asymmetrical reflections.
Do not automatically place the listening seat exactly in the geometric centre of the room. Compare several positions, particularly with bass material you know well.
There is also no universally correct distance from the front wall. Loudspeaker design and room dimensions matter, so use the manufacturer's placement recommendation as the starting point.
Acoustic products are not interchangeable. The effective frequency range depends strongly on design, material thickness, mounting and position.
| Measure | Task | Typical Use | Important |
|---|---|---|---|
| Broadband Absorber | Reduce reflection energy | Side walls, ceiling and rear wall | Effective range depends strongly on material and thickness |
| Bass Trap | Control low-frequency energy | Often corners and boundary areas | Low frequencies require considerably more depth |
| Diffuser | Distribute reflections spatially | Suitable free wall areas | Needs sufficient distance; absorption can be easier in very small rooms |
| Monitor Isolation | Reduce mechanical transfer | Desk or speaker support | Does not treat room modes |
| Recording Shield | Reduce nearby microphone reflections | Speech and vocal recording | Local aid, not complete room treatment |
Covering a room with large quantities of thin acoustic foam can make the upper spectrum dull while leaving the low-frequency problem almost unchanged. Treatment should remain broadband and address the problem you actually identified.
A microphone records a different amount of room sound depending on its polar pattern, distance, orientation and position inside the room.
Do not automatically place a microphone in the exact centre of the room. Also avoid unnecessarily short distances to large bare reflective surfaces. Simply turning or moving the recording position can change the room component significantly.
Mobile absorbers and recording shields can be useful for speech, podcasts and vocals when the immediate surroundings of the microphone need to be controlled.
The distance between performer and microphone remains just as important. Increasing the direct sound relative to the room can make reflections less dominant, but proximity effect, level and the desired recording sound must also be considered.
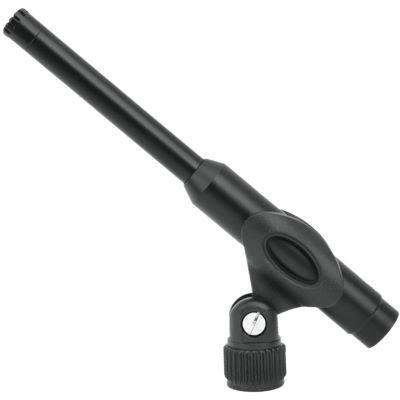
A measurement microphone can help compare listening positions and treatment objectively. It is especially useful for identifying recurring peaks and nulls and checking whether a change genuinely improved the listening position.
Measure the existing setup before changing several things at once. This creates a reference for later comparisons.
Move one variable at a time and compare the result. This is especially valuable when investigating low-frequency peaks and cancellations.
Once the geometry is sensible, add acoustic treatment for the identified problem areas and measure again.
Room EQ or DSP can compensate for some remaining level deviations. It cannot completely remove reflection paths, long reverberation or a deep spatial cancellation.
Continue checking familiar reference productions. The aim is not simply to create an attractive graph, but to make everyday recording and mixing decisions translate more reliably.
The selection follows the same order as the acoustic workflow: control the immediate recording and monitor environment, establish correct monitor positioning and then use measurement and suitable monitoring tools for verification.













Treating mainly high frequencies can create a dull, unbalanced room while leaving the actual bass problem almost untouched.
More acoustic material cannot compensate reliably for unequal speaker distances, poor height or a problematic listening position.
Strongly different distances to side walls and furniture make a stable and repeatable stereo image more difficult.
Strong room modes and deep spatial cancellations should first be addressed through loudspeaker position, listening position and suitable acoustic treatment.
Additional low-frequency energy can make an untreated small room more difficult to judge rather than automatically improving monitoring.
A reflection filter influences the immediate microphone environment. It does not isolate the room from neighbours and does not replace full-room acoustic treatment.
Start with the listening position and studio monitors. Establish symmetrical placement, equal listening distances and sensible aiming, then compare several positions before adding acoustic treatment.
First-reflection areas on side walls and, where relevant, the ceiling are common starting points. Additional positions depend on the room, listening position and the acoustic problem you are trying to solve.
Small rooms frequently show strong low-frequency problems. Optimise the listening and loudspeaker positions first. If dedicated bass treatment is required, remember that low frequencies normally need considerably more material depth than thin wall absorbers.
No. The goal is a controlled environment in which reflections and reverberation do not dominate your decisions. Excessive absorption of only the upper frequencies can make a room dull and unbalanced.
They can absorb some mid- and high-frequency energy, but they do not normally solve significant low-frequency room-mode problems and are not a substitute for broadband or bass treatment.
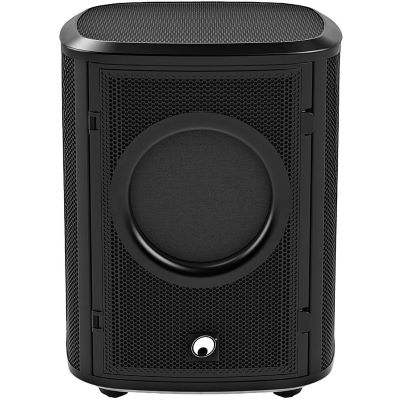
Not automatically. A subwoofer extends the low-frequency range and can excite room modes more strongly. The listening position, main-monitor placement and room behaviour should therefore be reasonably under control first.
An approximately equilateral triangle between the left monitor, right monitor and listening position is a proven starting point. The actual distance depends on monitor size, intended listening distance and the manufacturer's recommendation.
No. A recording shield can reduce reflections in the immediate microphone environment. It does not provide complete room treatment and does not provide constructional sound insulation.
Yes, as a complement to critical listening. It is particularly useful for comparing monitor and listening positions and identifying recurring frequency-response peaks and nulls.
No. DSP can compensate for some frequency-response deviations, but it cannot remove mechanical reflection paths, excessive reverberation or a deep cancellation caused by the listening position. Position first, treat second and correct electronically afterwards.
Good room acoustics begin with the geometry of your monitoring setup. Position both studio monitors symmetrically, maintain equal listening distances, aim them towards the listening position and place the intended acoustic axis approximately at ear height. Compare several listening positions before buying large quantities of acoustic treatment.
Then identify the actual problem. Broadband absorbers can reduce early reflections, while low-frequency problems require significantly deeper treatment and often benefit greatly from better monitor and listening positions. Isolation pads and monitor stands help with mechanical decoupling and positioning but do not replace acoustic treatment.
For vocals and speech, microphone position and distance are just as important as the room. Recording shields and mobile absorbers can improve the immediate recording environment, but they do not soundproof the room and should not be confused with a complete acoustic solution.
Once the physical setup and treatment are sensible, a measurement microphone and room-correction tools can help verify and fine-tune the result. This order prevents electronic correction from being used to compensate for a problem that could have been solved more effectively by moving a speaker, the listening seat or an absorber.
Discover further Musikhaus Korn buying guides and product categories for studio monitors, microphones, audio interfaces, headphones, recording and complete music production setups.