Small and Untreated
Short reflections from walls, desks and windows are the main challenge. Close miking, cardioid microphones and mobile absorption are particularly useful here.

Bedroom, office, treated home studio, rehearsal room or large hall: whenever you record with a microphone, the room becomes part of the signal. The goal is therefore not to set up as much equipment as possible, but to match the microphone type, polar pattern, distance and acoustic treatment to the actual recording space.
Room size alone says very little about recording quality. Reverberation, early reflections, outside noise, hard surfaces and the available space for positioning the musician and microphone are more important.
Short reflections from walls, desks and windows are the main challenge. Close miking, cardioid microphones and mobile absorption are particularly useful here.
With sensibly positioned absorbers and fewer disturbing reflections, sensitive condenser microphones and larger microphone distances can be used more effectively.
High sound levels and bleed dominate the recording. Closely placed dynamic microphones and directional polar patterns make it easier to separate individual sources.
A good room does not have to be removed from the sound. Choirs, grand pianos, drums and ensembles can benefit when stereo and room microphones deliberately capture the acoustics.
| Room | Typical Problem | Strategy | Suitable Tool |
|---|---|---|---|
| Bedroom | Early reflections | Record close and directional | Reflection filter, dynamic microphone |
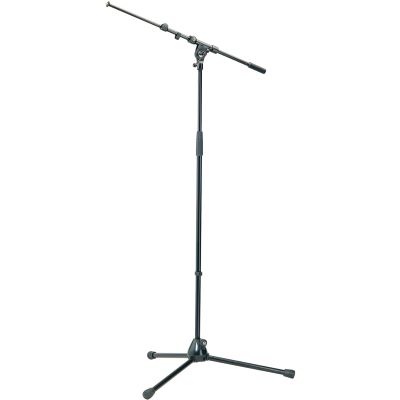
| Office | Desk, screen and window | Change position and shorten reflection paths | Microphone arm, desktop absorber |
| Home Studio | Room modes and individual early reflections | Optimise positioning and absorption | Condenser microphone, acoustic elements |
| Rehearsal Room | Bleed and high sound pressure | Short distance and directional microphones | Dynamic instrument microphones |
| Hall / Live Room | Finding the right ratio of direct and room sound | Use distance deliberately | Stereo pair, small-diaphragm microphones |
The fastest route to a more controlled recording is often not a new microphone but a better position. Whenever possible, avoid corners, immediate proximity to bare walls and strongly reflective surfaces directly around the recording position.
For vocals, a distance of approximately 20 to 30 centimetres is a useful starting point. The closer the microphone is to the sound source, the greater the proportion of direct sound compared with the room. A pop filter helps maintain a reproducible distance.
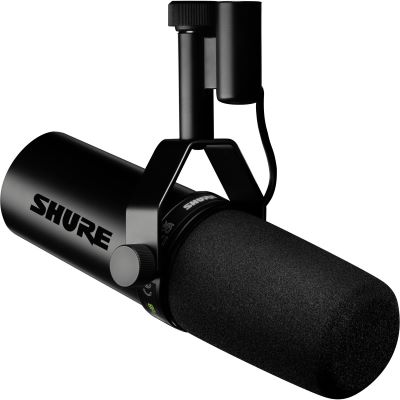
Dynamic microphones such as broadcast models are particularly practical for podcasts and speech because they are often used very close to the mouth. Condenser microphones can work as well, but they make the room design and microphone position more audible.
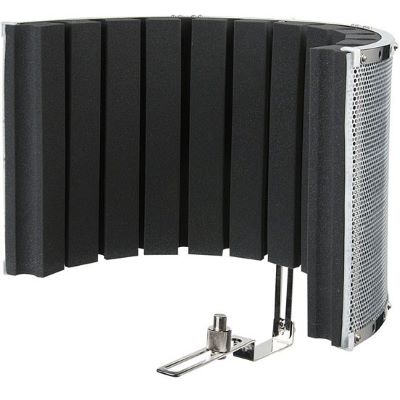
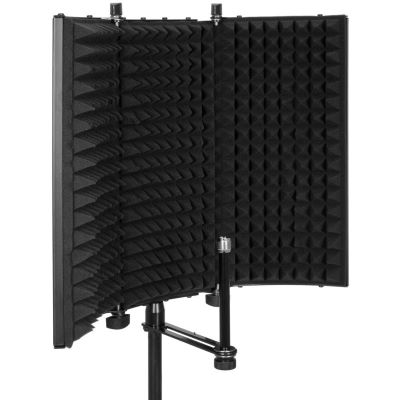
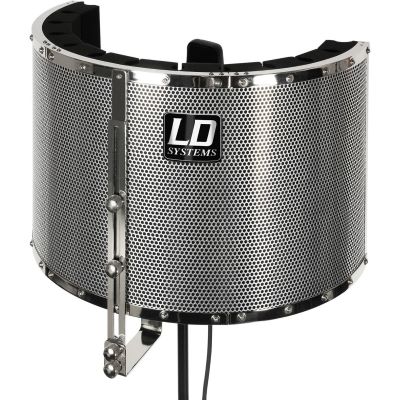
A recording shield is not complete room treatment: it can influence reflections in the immediate microphone environment. Low-frequency room modes, flutter echoes from other surfaces and outside noise remain properties of the entire room.
Walls, ceilings, windows and desks can create very early reflections. Furniture, heavy curtains and suitable broadband absorption can make these reflections more controlled.
The goal is not a completely reflection-free room. A recording space can remain lively as long as the reflections are even and musically useful.
Thin acoustic screens around a microphone work primarily in the upper frequency range. Low-frequency room modes require substantially more extensive treatment.
Room sound may be desirable during recording. At the mixing position, however, the room should allow the monitors to reveal what is actually contained in the recording as reliably as possible.
Practical test: record the same voice or instrument at three different positions in the room. The best position often improves the result more than immediately changing microphones.
Bleed is normal in a rehearsal room. The snare reaches the vocal microphone, guitar amplifiers appear in the overheads and cymbals are audible almost everywhere. Microphone placement should therefore create as much useful separation as possible before recording even starts.
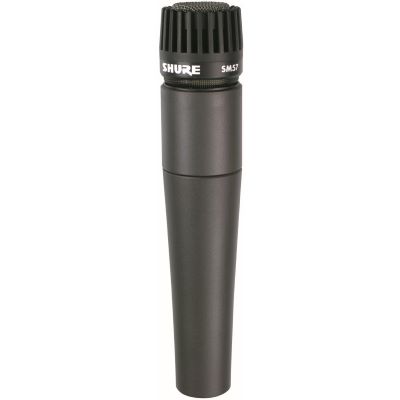
Closely placed dynamic cardioid microphones work well on guitar amps, snare and other loud sources. Point the less sensitive side of each microphone towards interfering neighbouring sources whenever possible.
The physical position and direction of guitar amplifiers can achieve more than later EQ. If you deliberately want a live atmosphere, bleed can become part of the sound.
If every track needs strong individual processing later, increase the distance between musicians, use directional microphones and consider mobile separation elements.
In a good-sounding hall or larger recording room, additional microphone distance can become an advantage. Choirs, strings, grand pianos, percussion and complete ensembles benefit when individual sources already blend acoustically in the space.
Two closely matched microphones can reproduce width and position. XY provides a compact and well-controlled arrangement, while other stereo techniques can create greater width.
Moving closer creates more direct sound. Increasing the distance adds room and reverberation. Move the microphone first and apply EQ afterwards.
On drums or grand piano, close microphones can provide definition while a distant pair adds spatial depth. When several microphones are combined, timing and phase relationships should also be checked.
Cardioid microphones pick up primarily from the front and reduce sound arriving from the rear. They are therefore a versatile choice for small rooms, vocals and close instrument recording.
Narrower pickup patterns can improve separation in a rehearsal room. However, they also create a rear pickup area that must be considered when positioning the microphone and monitors.
These polar patterns become particularly interesting when the room itself should be captured or when a special stereo technique is being used. A good-sounding room then becomes much more important.
Do not automatically record in a corner or directly in front of a bare wall. Compare several positions before making permanent acoustic changes.
Shorter distance increases the amount of direct sound. Excessively close placement can, however, emphasise proximity effect, breathing noise or handling sounds.
Mobile absorbers or a recording shield can create a drier immediate recording zone, particularly for speech and vocals.
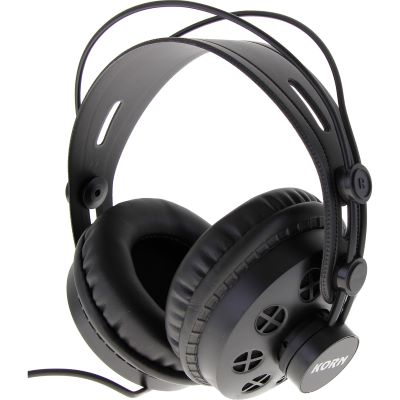
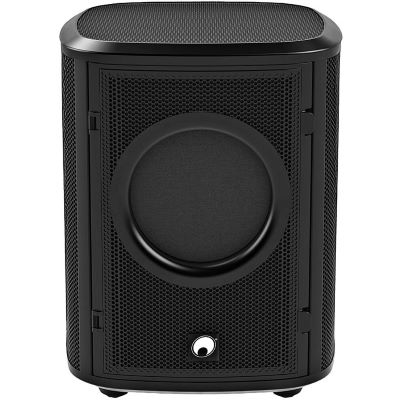
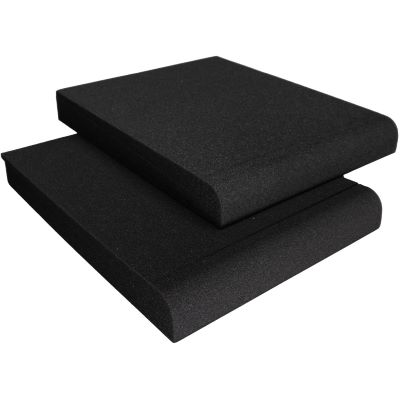
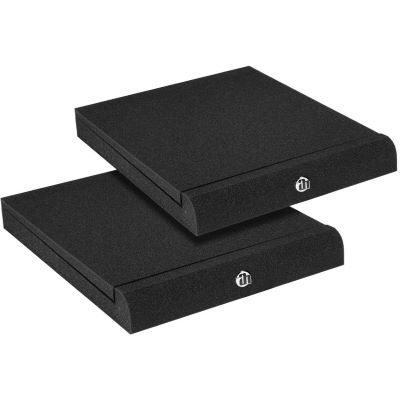
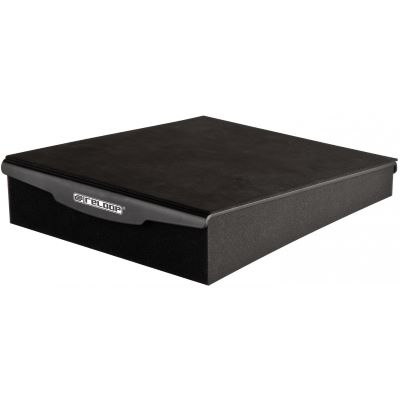
Position studio monitors sensibly and isolate them from resonating desk surfaces. Use closed-back headphones while recording to reduce spill into microphones.
From mobile reflection control and close microphones to matched stereo microphone pairs for large rooms.


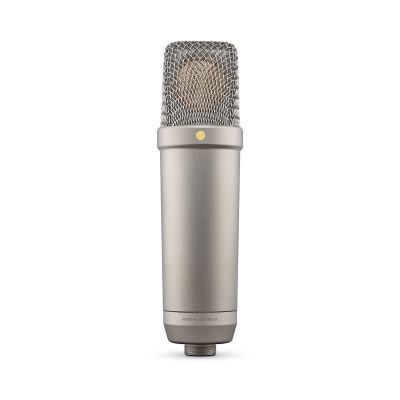
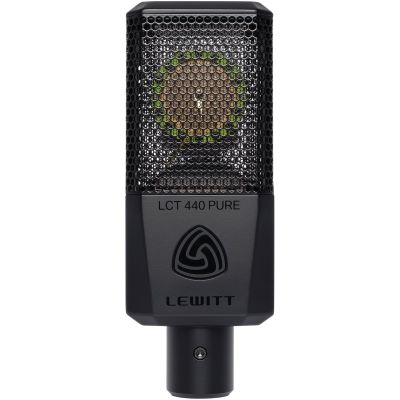
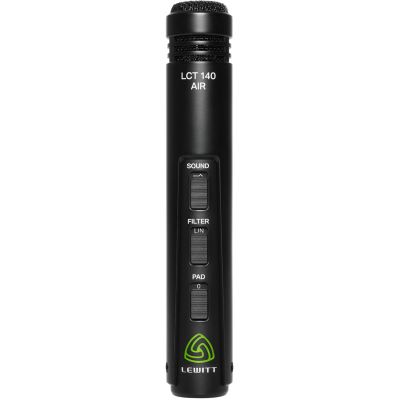
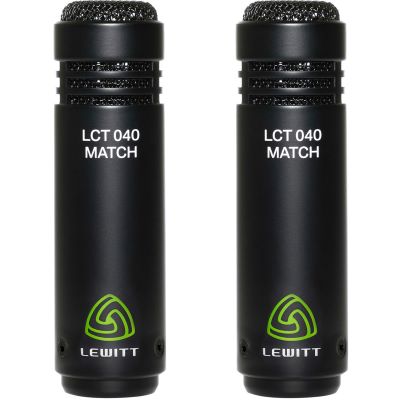
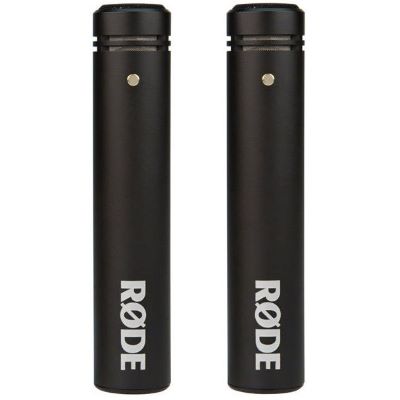
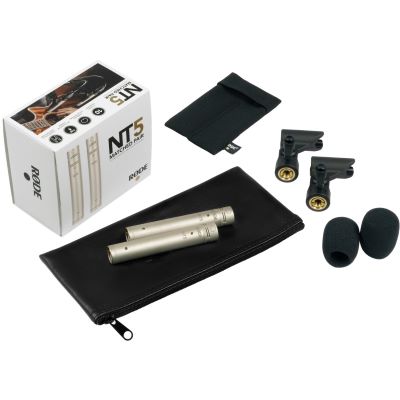
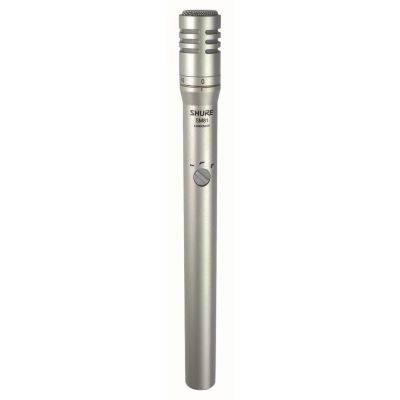






Microphones for speech, instruments and recording, ranging from close-miking classics to detailed condenser models.
Recording microphones for vocals, speech, instruments and stereo applications in home and project studios.
Large- and small-diaphragm microphones for modern recording setups, acoustic instruments and stereo work.
Recording shields and mobile studio accessories for flexible recording positions.
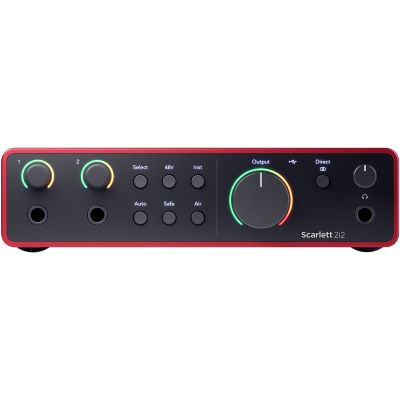
Interfaces for single-source, stereo and multichannel recording setups.
Practical isolation and audio accessories for monitoring positions and studio workspaces.
Extremely short reflection paths can create audible colouration. First change the distance and direction before buying additional equipment.
High detail resolution also means that an unfavourable room can be captured in great detail. The application and room decide which microphone technology is most useful.
Thin absorption does not work evenly down into the bass range. A room may become dry in the upper frequencies while low-frequency problems remain almost unchanged.
Yes. Voices and individual instruments in particular can be recorded successfully when microphone distance, position and polar pattern are adapted to the reflections in the room.
A dynamic cardioid microphone is often a useful starting point for speech because it can be used very close to the source. A condenser microphone can work as well, but it makes more of the room's acoustic detail audible.
It can reduce reflections in the immediate microphone area. It does not replace complete room treatment and has only limited influence on deep room resonances.
Avoid positioning it directly in a corner or immediately in front of a strongly reflective surface. Compare several positions while maintaining the same microphone distance.
Around 20 to 30 centimetres is a useful starting distance for many vocal recordings. Voice, microphone type and the desired proximity effect may require a different final distance.
Not necessarily. A well-chosen recording position, close miking and targeted absorption can already produce very controlled results.
No. A large room with unfavourable reverberation can work worse than a small controlled room. The quality of the reflections is what matters.
Stereo is particularly useful for piano, drum overheads, choirs, ensembles and room sound. At least two simultaneously usable input channels are required.
Bring microphones closer to the intended source, make use of their polar patterns and position instruments or amplifiers sensibly in relation to one another.
Controlled, yes; completely dead, not necessarily. Natural and even reverberation can be very pleasant during recording.
Processing can reduce some problems, but a clean original recording is considerably easier to mix. Microphone position and room acoustics should therefore be optimised before recording.
Both work together. A high-quality microphone cannot remove unfavourable reflections. Improving the microphone and source position often produces the larger initial improvement.
In a small untreated room, short microphone distances, a sensible polar pattern and control of early reflections are particularly important. Dynamic microphones can be an especially practical solution for speech and close-miked sources.
In a treated home studio, large- and small-diaphragm condenser microphones can be positioned more freely. In a large, good-sounding recording room, the exact room contribution that would be reduced at home may become a desirable part of the recording.
The principle is therefore simple: listen to the room first, then choose microphone position and distance, and only afterwards decide whether additional acoustic elements or a different microphone are actually required.
Find further guidance on recording, microphones, audio interfaces, studio acoustics, monitoring and musical instruments in the central Musikhaus Korn guide.