
Musikhaus Korn Recording Guide
How to Connect an Audio Interface: From the Computer to Your First Recording
Connect the USB cable, plug in a microphone and start recording? In principle, yes – but microphone, line and instrument signals require different inputs. 48 V phantom power, studio monitors, headphones, MIDI and the settings in your DAW also need to be configured correctly. This guide takes you step by step through a complete recording setup.
Connect USB & Thunderbolt Correctly
Understand Mic, Line & Hi-Z
Set Up Monitors, Headphones & MIDI
Related Audio Interface Topics
Audio Interface Connection Quick Facts
The Complete Signal Path
Connect an Audio Interface in Eight Steps
Almost every straightforward home-studio setup follows the same basic sequence. Begin with low playback levels and then check each signal path individually.
Connect the Computer
Connect the interface to the computer using the specified USB or Thunderbolt connection and a suitable data cable.
Install the Software
If required, install the current driver, control software and firmware provided by the interface manufacturer.
Connect the Sources
Connect microphones to Mic, guitars to Instrument or Hi-Z and synthesizers or modelers to suitable Line inputs.
Connect Monitoring
Connect active studio monitors to the Main or Monitor outputs and plug headphones into the dedicated headphone output.
Check 48 V
Activate phantom power only when the connected microphone or accessory actually requires it.
Select the Audio Device
Choose the audio interface as the input and output device in the operating system and recording software.
Set the Gain
Play or sing the loudest expected passage and leave sufficient safety margin before digital clipping.
Raise the Monitor Level
Only after all connections have been checked should headphone and monitor levels be slowly raised to a comfortable volume.
Simple signal path:
microphone or instrument → audio interface → computer / DAW →
audio interface → headphones or active studio monitors.
Step 1
Connect the Audio Interface to the Computer
The shape of the connector is not the only important factor. Check which data protocol the audio interface actually uses.
Many current USB audio interfaces use a USB-C socket. This does not automatically mean that they use Thunderbolt. USB-C describes the connector shape and can carry different USB protocols.
A Thunderbolt interface, on the other hand, requires a computer connection that explicitly supports the corresponding Thunderbolt standard.
Whenever possible, use the cable specified by the manufacturer or another cable that supports the required data transfer and, where applicable, power supply.
Bus-powered interfaces receive their operating power from the computer. Larger interfaces frequently require an additional power supply.
If the interface is not detected:
check the data cable, power supply and computer port first.
A connector can fit mechanically even when the cable or port does
not support all required functions.
Step 2
Do Not Confuse Mic, Line and Instrument Inputs
A combo socket can accept several connector types, but the interface still needs to use the correct operating mode for the connected source.
Microphone Signal
Studio microphones are normally connected through XLR to a microphone preamp. The gain control amplifies the comparatively low microphone signal to a useful recording level.
Passive Guitar or Bass
A passive electric guitar or bass requires a high-impedance instrument input. On combo inputs this mode is often labelled INST, Instrument or Hi-Z.
Synthesizers & External Hardware
Keyboards, synthesizers, modelers, mixers and many effects processors provide line-level signals and belong on suitable Line inputs. A stereo device normally uses two channels.
Different Levels and Electrical Characteristics
Mic, instrument and line signals differ in level and electrical characteristics. A passive guitar connected to an unsuitable line input can sound too weak or tonally incorrect.
Conversely, a strong line-level signal can overload a sensitive microphone signal path if the wrong input mode or gain setting is used.
What Is an XLR / Jack Combo Input?
A combo socket combines an XLR connection and a jack connection in the same physical position.
It does not create two independent recording channels. It remains a single input whose operating mode is selected automatically or manually, depending on the interface.
Easy rule:
microphone → Mic, passive guitar → Hi-Z,
synthesizer or modeler → Line.
Step 3
Connect a Microphone and 48 V Phantom Power Correctly
Connect your studio microphone to a microphone input on the interface using a suitable XLR cable. Initially turn the input gain down.
If the condenser microphone requires 48 V phantom power, activate the supply after the microphone has been connected. Then gradually increase gain while singing, speaking or playing at a realistic level.
Before disconnecting a phantom-powered microphone, switch 48 V off again, reduce the gain and allow a short moment for the voltage to fall.

Do not activate 48 V automatically:
check the operating instructions for the specific microphone
or connected accessory. The required power supply should be
clearly established before phantom power is switched on.
Step 4
Connect Electric Guitar and Bass Directly to the Interface
Passive instruments are connected with a normal instrument cable to an input that supports Instrument or Hi-Z operation.
Electric Guitar Direct to Hi-Z
Connect the guitar using a 6.3 mm mono instrument cable, activate instrument mode and adjust the gain so that strong picking still leaves sufficient headroom.
Amp Simulation
The initially dry DI track can be processed in the DAW with virtual amplifiers, speaker cabinets and effects. This is particularly useful for quiet recording through headphones.
Connect a Modeler to Line
If a modeler provides line-level outputs, connect them to suitable line inputs on the interface. A stereo signal requires two recording channels.
Step 5
Connect Synthesizers, Keyboards and Mixers to Line Inputs
Hardware that already produces a line-level signal normally belongs on the line inputs of the audio interface rather than on a microphone or Hi-Z input.
One Output = One Input
A single mono output uses one line input. Use the output designated by the equipment manufacturer for mono operation and select the appropriate input mode on the interface.
Left and Right Use Two Inputs
A stereo synthesizer normally uses two outputs – Left and Right – and therefore occupies two line inputs. In the DAW, record them to a stereo track or two linked mono tracks.
Avoid Unnecessary Double Amplification
If an external microphone preamp already provides a line-level output, connect it to a suitable line input on the audio interface. This avoids unnecessarily passing the signal through another strong microphone amplification stage.
For hardware studios:
count stereo synthesizers as two audio channels when planning the
number of available line inputs.
Step 6
Connect Studio Monitors and Headphones Correctly
Playback in a recording setup should normally also run through the audio interface. This keeps recording and monitoring within the same audio system.
Left Studio Monitor
Main Out or Monitor Out L on the interface connects to the input of the left active studio monitor.
Right Studio Monitor
Main Out or Monitor Out R connects to the right monitor. Use suitable balanced cables whenever both devices support balanced connections.
Studio Headphones
Connect studio headphones to the dedicated headphone output. On many interfaces their level can be controlled independently from the studio monitor level.
Power-up rule:
begin with the monitor level turned down. Reduce playback levels
before reconnecting sensitive signal paths or changing connections.
Step 7
Connect MIDI Devices to the Audio Interface
If the audio interface provides MIDI connections, MIDI Out on the keyboard or synthesizer connects to MIDI In on the interface.
If the DAW should also control the hardware instrument, connect MIDI Out on the interface to MIDI In on the instrument.
MIDI does not transport the actual instrument sound. To record the synthesizer's sound, its audio outputs must additionally be connected to line inputs on the audio interface.
Remember:
MIDI controls the instrument. Audio connections carry the sound.
Step 8
Set Up the Audio Interface in the DAW and Adjust the Level
After all physical connections have been completed, assign the correct interface inputs and outputs inside your recording software.
Select the Interface
Choose the audio interface as the input and output device in the DAW's audio settings.
Set the Sample Rate
The interface, project and any connected digital equipment should use compatible sample-rate settings.
Assign the Input
The recording track must use exactly the hardware input to which the microphone or instrument is connected.
Test the Recording Level
Arm the track, perform the loudest expected passage and leave enough margin to avoid clipping.
No DAW signal although the interface meter is moving?
First check the hardware input selected on the track and then
confirm that the track is armed for recording.
Suitable Connection Concepts
All USB Interfaces
Audio Interfaces for Different Recording Setups
The following selection ranges from compact beginner interfaces to flexible desktop models and professional systems with additional line, MIDI or digital connections.
Compact Interfaces for Microphone, Guitar and Headphones
Focusrite
Scarlett Solo 4th Gen
View Product
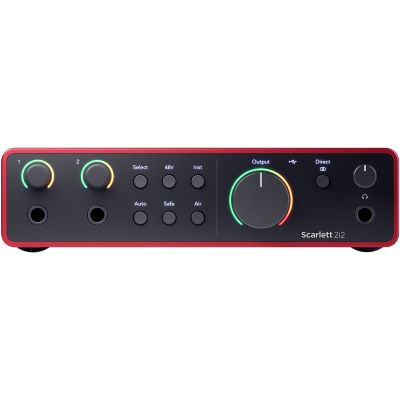
Focusrite
Scarlett 2i2 4th Gen
View Product
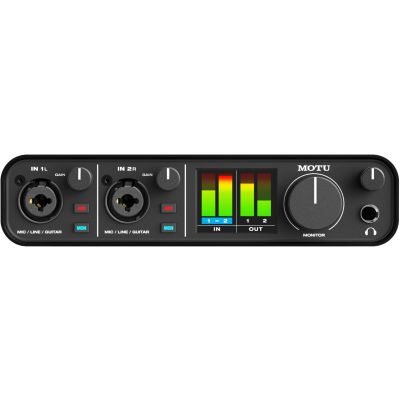
MOTU
MOTU M2
View Product
Arturia
MiniFuse 2 Black
View Product
Yamaha
URX22C
View Product
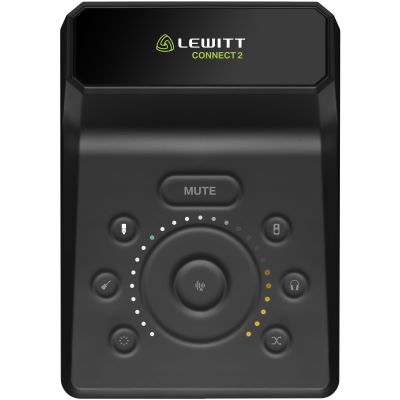
Lewitt
CONNECT2
View Product
More Connections for Synthesizers, Monitors and Hardware
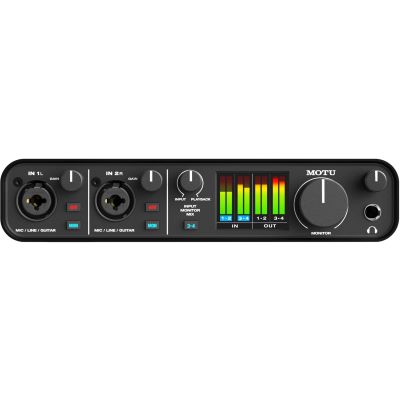
MOTU
MOTU M4
View Product
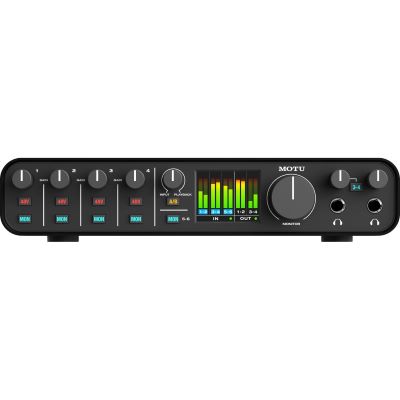
MOTU
MOTU M6
View Product
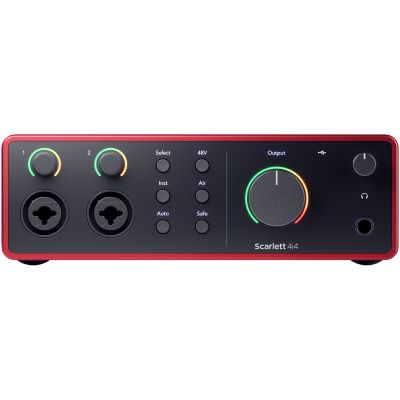
Focusrite
Scarlett 4i4 4th Gen
View Product
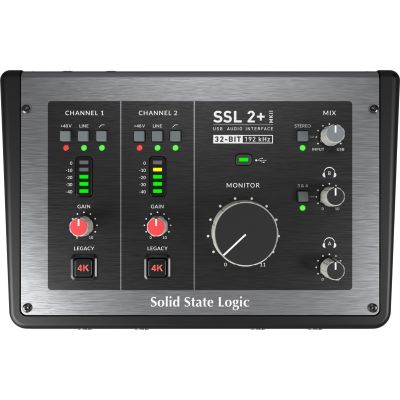
Solid State Logic
SSL 2+ MKII
View Product
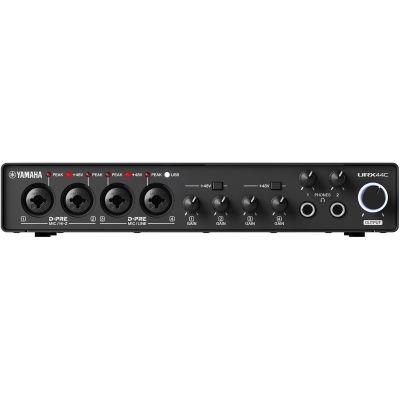
Yamaha
URX44C
View Product
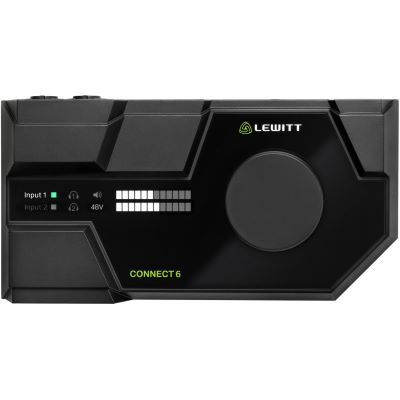
Lewitt
CONNECT 6
View Product
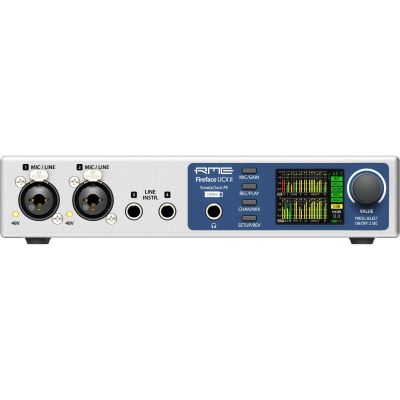
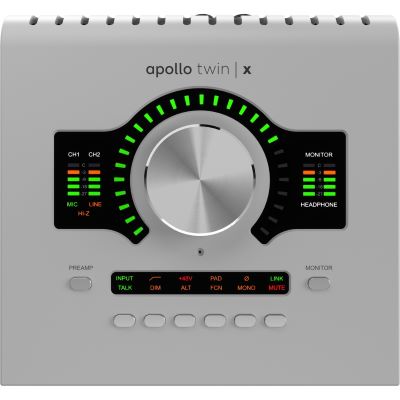
Professional and Digitally Expandable Systems
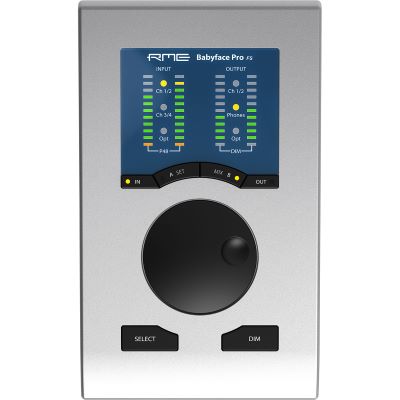
When No Sound Is Coming Through
The Most Common Audio Interface Connection Mistakes
Many apparent hardware problems are caused by the wrong input mode, an incomplete signal path or an incorrect DAW setting.
Guitar Input Is Set to Line
For a passive electric guitar, use the Instrument or Hi-Z mode of the corresponding interface input.
Condenser Microphone Remains Silent
Check whether the specific microphone requires phantom power and whether 48 V has been activated on the correct microphone input.
Synthesizer Is Connected Only via MIDI
MIDI carries no synthesizer audio. Connect the hardware audio outputs to suitable line inputs as well.
Wrong Input Selected in the DAW
Hardware Input 2 on the interface only reaches the recording track if that track is also assigned to Input 2.
The Monitor Control Is Turned Down
If meters are moving in the DAW but nothing can be heard, check the headphone, monitor and loudspeaker levels.
Amplifier Speaker Output Connected to the Interface
Loudspeaker outputs from guitar amplifiers or power amplifiers must never be connected directly to conventional Mic, Line or Instrument inputs on an audio interface.
Suitable Cables & Connections
What Else Do You Need for a Complete Interface Setup?
The correct cable depends on the signal type and the connections available on both devices.
XLR Cables
For studio microphones and other balanced XLR connections.
Jack Cables
For suitable line devices, studio monitors and further balanced or unbalanced signal paths.
Instrument Cables
For connecting electric guitar and electric bass directly to a Hi-Z instrument input.
MIDI Cables
For traditional MIDI DIN connections between the audio interface and hardware instruments.
Manufacturer Worlds
Audio Interface Brands & Recording Equipment
Explore audio interfaces, recording hardware and suitable accessories from established studio manufacturers.








Frequently Asked Questions
Answers About Connecting an Audio Interface
The most important questions about microphones, phantom power, guitars, studio monitors, MIDI, USB-C, Thunderbolt, drivers and recording levels.
In What Order Should I Connect My Audio Interface?
First connect the interface and computer and install any required drivers. Then connect microphones, instruments, line-level devices and monitoring. Begin with low output levels and check every signal path individually.
Where Do I Connect a Microphone to an Audio Interface?
A studio microphone is normally connected via XLR to a microphone input or microphone preamp. If the microphone requires phantom power, 48 V can then be activated on the appropriate interface input.
When Should I Turn On 48 V Phantom Power?
Only when the connected microphone or accessory requires phantom power. Check the manufacturer's instructions, reduce gain and monitor level before switching and turn 48 V off before disconnecting the microphone.
Where Do I Connect an Electric Guitar?
Passive electric guitars and basses should be connected to a dedicated Instrument or Hi-Z input. On combo inputs, Instrument mode may need to be activated manually.
How Do I Connect Studio Monitors?
The left Main or Monitor output connects to the left active studio monitor and the right output connects to the right monitor. Use cables that suit both devices and begin with the playback level turned down.
Why Can I Hear My Microphone Twice?
A common reason is that Direct Monitoring on the interface and software monitoring inside the DAW are active at the same time. Choose the monitoring path that best suits the recording workflow.
Why Is My Synthesizer Silent Even Though MIDI Is Connected?
MIDI transmits control data rather than audio. In addition to the MIDI connection, the synthesizer's audio outputs must be connected to line inputs on the interface.
Can I Connect a USB-C Interface to Thunderbolt?
The protocols supported by the interface and computer are decisive, not only the connector shape. USB-C can carry USB or Thunderbolt, but USB-C and Thunderbolt are not interchangeable terms.
Do I Need a Driver for My Audio Interface?
This depends on the interface, operating system and manufacturer. Manufacturer-specific drivers are frequently used on Windows systems. Check the current operating-system support provided by the manufacturer.
How Do I Set the Recording Level Correctly?
Play or sing the loudest expected passage and increase the gain only far enough to obtain a strong recording signal without overloading the input stage or digital recording path. Sufficient headroom protects against clipping.
Everything at a Glance
How to Connect an Audio Interface Step by Step
First connect the audio interface to the computer using the USB or Thunderbolt connection specified by the manufacturer. Then connect each audio source according to its signal type: studio microphones to microphone inputs, passive electric guitars and basses to Hi-Z instrument inputs and synthesizers, modelers or other line-level devices to line inputs.
Depending on the model, condenser microphones may require 48 V phantom power. Phantom power should only be used when the connected equipment requires it. Active studio monitors connect to the left and right Main or Monitor outputs, while headphones use the dedicated headphone output.
If a hardware instrument is connected via MIDI, remember that MIDI carries control information but not the instrument's audio. The audio outputs of the synthesizer therefore need an additional connection to the interface's line inputs.
Finally, select the audio interface as the input and output device in the DAW, assign the correct physical input to each recording track and set the gain while monitoring the loudest expected passage. Distinguishing correctly between Mic, Line and Instrument signals creates a clear and reliable recording setup.
More Buying Advice
From the First Cable to a Complete Home Studio
Find more Musikhaus Korn guides about audio interfaces, microphones, guitar recording, studio monitors, headphones, MIDI, instruments and complete recording setups.