Is Every Device Connected Correctly?
Microphone to interface, instrument to Hi-Z input and interface to two studio monitors: connector type, signal type and cable length need to match every individual connection.

Your microphone, audio interface and studio monitors are selected – but can you already start recording? The right cables, a stable microphone position, correctly aligned monitors and a controlled recording environment turn individual devices into a working home studio. This guide shows which connection, stand or acoustic solution your setup may still need.
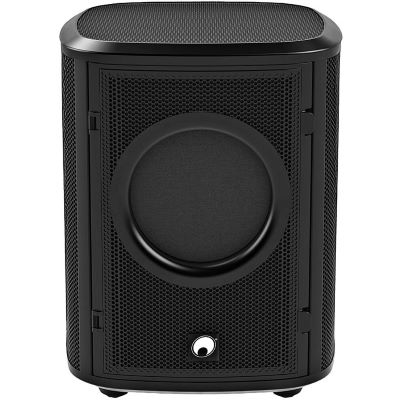
Check the entire route from the instrument or microphone to your monitoring system. Accessories should not be added randomly afterwards – each component should solve a specific connection, positioning or acoustic task.
Microphone to interface, instrument to Hi-Z input and interface to two studio monitors: connector type, signal type and cable length need to match every individual connection.
A suitable stand keeps the distance and angle consistent. Vocals, instruments, overheads and podcast workstations require different stand designs.
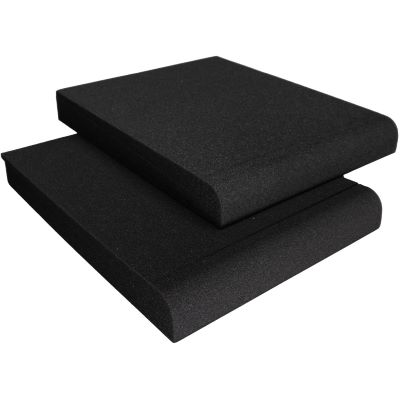
Desktop or floor stands can bring the speakers to a useful height. Isolation pads can additionally reduce direct mechanical coupling with furniture and help angle the monitors towards the listening position.
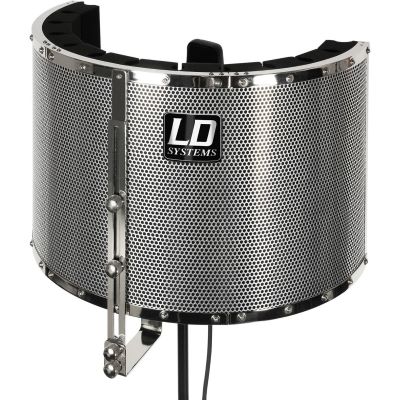
Reflection filters and mobile absorbers can influence the immediate area around a microphone. For the acoustics of the entire room, however, listening position, monitors and room dimensions need to be considered together.
A useful order: first check all necessary connections and cables. Then position microphones and monitors correctly. Only afterwards should you address specific acoustic problems. This helps avoid buying accessories when the actual problem is an incorrect signal path or poor placement.
A connector fitting mechanically does not automatically mean that the signal type is correct. Microphone, instrument and line-level signals have different requirements, so always check both devices and the intended inputs and outputs.
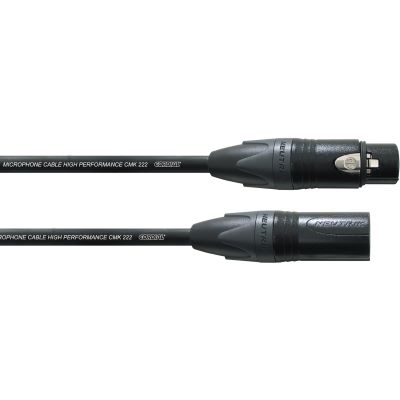
Classic XLR studio microphones are normally connected to an audio interface microphone preamp with an XLR-female-to-XLR-male cable.
With compatible equipment, phantom power can also be carried through the same connection.
Passive electric guitars and basses typically use an unbalanced 6.3 mm instrument cable connected to a dedicated Hi-Z input.
The interface input needs to be specifically designed for instrument level.
Many audio interfaces provide balanced line outputs on TRS jacks, while active studio monitors commonly offer TRS or XLR inputs.
A stereo monitor pair therefore normally requires two separate balanced audio connections.
Use a USB cable suitable for the required data connection and check which USB type is present on both the computer and audio interface.
The physical plug shape alone does not tell you everything about the connection.
Choose cables long enough to route them without tension, but avoid unnecessary loops on the floor or behind the desk.
Short cables are often sufficient around a desktop, while microphone positions around a room require additional length.
Professional microphone and line connections are frequently balanced because the format provides strong rejection of interference.
When balanced outputs and inputs are available between an audio interface and active monitors, they are normally the preferred connection.
Cable planning rule: check the signal type, inspect both sockets, choose the appropriate connectors and only then decide the required cable length. An adapter should not be used to compensate for an incorrectly planned signal path.
A stand does not directly change the sound of a microphone, but it determines whether distance and angle can be reproduced reliably. Stable positioning saves considerable time, especially when recordings are repeated.
A boom stand works well for vocals, acoustic instruments and many instrument positions. The boom places the microphone where it is needed without positioning the base directly in front of the performer.
Drum overheads, choirs, ensembles and high microphone positions require greater height and reach.
A stable base and sufficiently strong boom become especially important here.
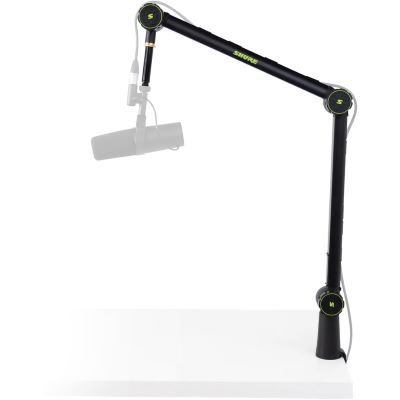
Articulated microphone arms and desktop stands keep the microphone close to the speaker while allowing it to be moved out of the working area after recording.
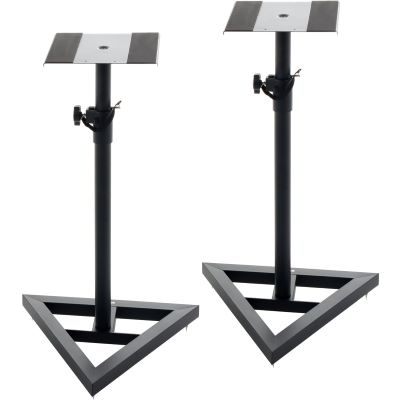
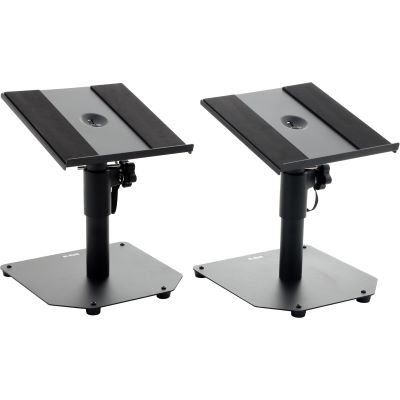
Desktop monitor stands save floor space, while separate floor stands create distance from the studio desk and allow more freedom when positioning the speakers.
Check the mechanical load: before buying, compare microphone or speaker weight, required height, boom length, support surface and available space. A heavy microphone and shock mount can exceed the capacity of a very light desktop arm.
Different acoustic accessories solve different problems. Monitor isolation pads mechanically decouple speakers from the supporting surface, while reflection filters mainly affect the immediate area around a microphone. Optimising the complete room requires a wider approach.
| Setup | Cable | Stand / Mount | Acoustics & Accessories |
|---|---|---|---|
| Recording Vocals | XLR microphone cable | Boom microphone stand | Pop filter, optional shock mount, reflection control |
| Desktop Podcast | XLR or USB depending on microphone | Articulated arm or desktop stand | Pop filter, mechanical isolation |
| Electric Guitar Direct | 6.3 mm instrument cable | No microphone stand required | Room acoustics not required for the direct signal |
| Miking a Guitar Amp | XLR | Short or standard microphone stand | Amount of room sound according to desired tone |
| Drum Overheads | 2 × XLR | 2 stable high stands | Room reflections and microphone position become especially important |
| Studio Monitors | 2 balanced line cables | Desktop or floor monitor stands | Isolation pads and room optimisation |
This selection covers common home-studio tasks from microphone and balanced line cabling to podcast and overhead stands, monitor positioning, mechanical decoupling and mobile reflection control.
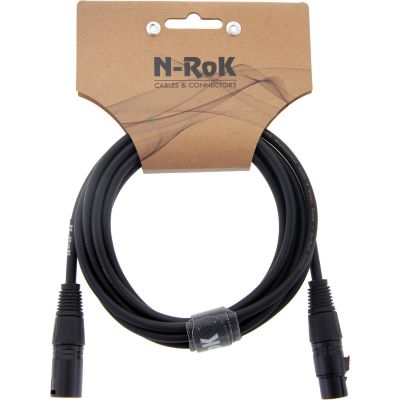
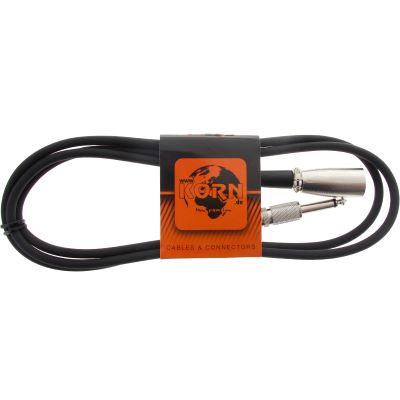
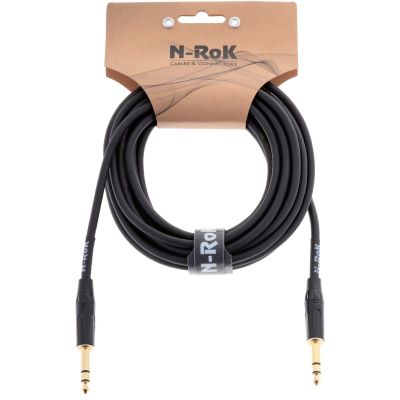
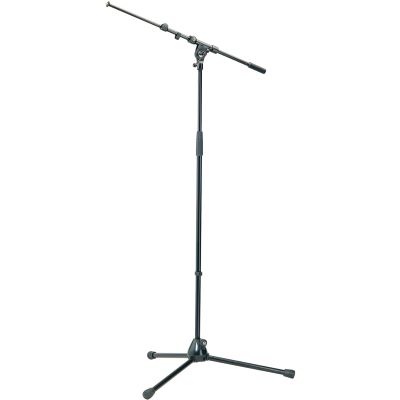
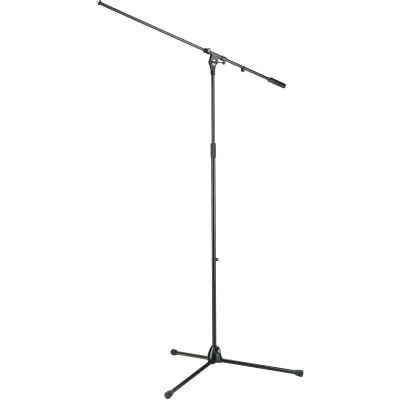
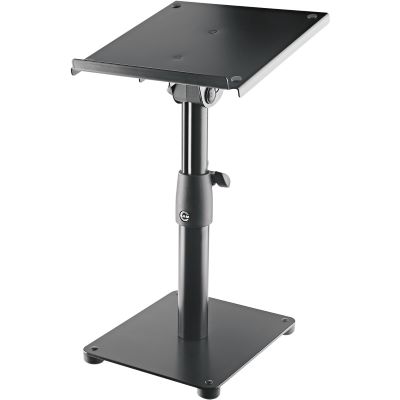
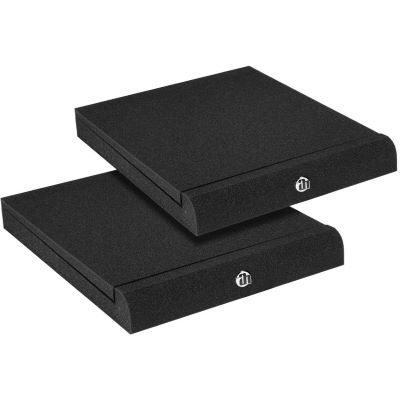
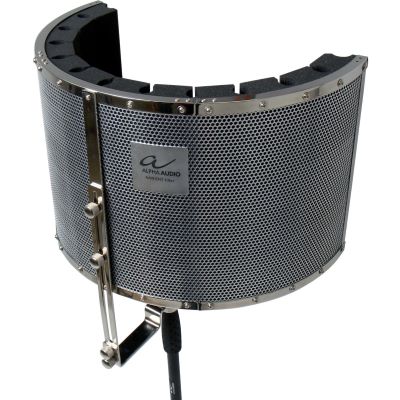
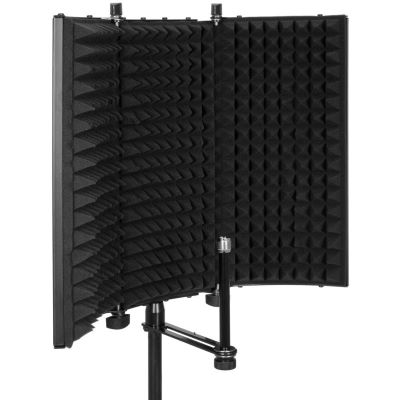

A growing home studio needs not only the right cable types but also understandable cable management. Reusable hook-and-loop ties make grouping, labelling and transporting cables easier.
Route cables clearly and avoid unnecessary loops. A tidy signal path makes troubleshooting and future setup changes considerably easier.
With several identical XLR or jack cables, clear labelling saves time – particularly when several microphones and stereo hardware devices are connected.
An additional XLR cable and one suitable line cable are practical spares. A recording session then does not have to stop simply because one connection needs replacing.
Explore further cable variants, stands, mounts and studio accessories from manufacturers represented in this guide.





XLR and line cables, monitor stands, isolation pads and other practical studio accessories.
Stands and mounting systems for microphones, monitors and studio equipment.
Professional microphones together with desktop and broadcast mounting solutions.
Reflection control and mobile recording accessories for voice, vocals and desktop setups.
Isolation, cable-management and professional audio accessories for studio and stage.
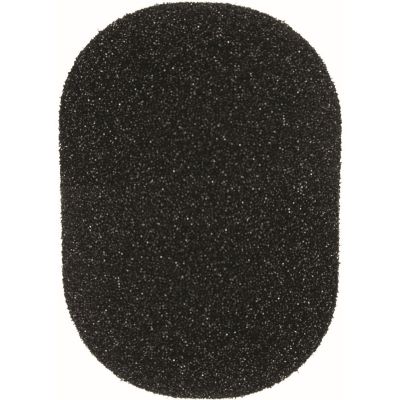
Microphones, wind protection and accessories for voice and studio recording.
Two sockets fitting mechanically does not guarantee that signal type and level are compatible.
Keyboard impacts and desk vibration can reach the microphone. An appropriate stand, arm or shock mount can improve the mechanical setup.
Stands cannot solve every room-acoustic problem, but they help place both speakers at a reproducible height and angle relative to the listening position.
A filter directly behind a microphone influences only a limited area. Bass resonances and the acoustics around the monitor listening position need to be considered separately.
A conventional XLR studio microphone is normally connected with an XLR-female-to-XLR-male microphone cable. The female connector connects to the microphone and the male connector to the interface microphone input.
You normally need two separate line connections: one for the left monitor and one for the right. The correct connectors depend on the audio-interface outputs and monitor inputs.
A passive electric guitar is typically connected with a conventional 6.3 mm instrument cable to a Hi-Z instrument input. A balanced line cable does not replace the correct input type.
A height-adjustable boom microphone stand is particularly flexible. It can position the microphone in front of a standing or seated performer without placing the base directly in the working area.
It is not essential, but it is very practical. An articulated arm keeps a consistent short speaking distance and can quickly be moved away after recording.
No. Correct positioning is what matters. If the desk cannot provide the required height and angle, desktop or floor stands can help. Isolation pads can provide additional decoupling and angle adjustment.
They reduce direct mechanical coupling between the loudspeaker and supporting surface. Many pads also allow the monitor to be angled towards the listening position.
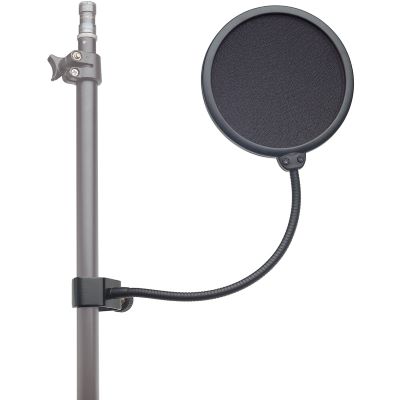
For close speech and vocal recording, a pop filter is often very useful. It helps reduce strong air bursts produced by plosive consonants such as P and B before they reach the microphone capsule.
Only to a limited degree. A reflection filter mainly affects the area immediately around the microphone. It does not fully solve the acoustics of the whole room, especially monitor-room response and low-frequency resonances.
Check the existing room and speaker placement first. Even good monitors cannot be judged reliably if the listening position, speaker position or room introduces obvious problems.
Frequently forgotten items include the second cable for a stereo monitor pair, an additional XLR cable, a suitable microphone stand, pop filter, microphone clip, cable straps and a solution for positioning the studio monitors correctly.
A complete recording setup consists of more than a microphone, audio interface, computer and studio monitors. Suitable cables ensure that microphone, instrument and line signals reach the correct inputs and outputs. Microphone stands and articulated arms keep the desired recording position reproducible.
Monitor stands and isolation pads help align the listening system with the listening position. Begin by counting all required XLR connections, instrument cables and monitor line outputs. Remember that a stereo monitor pair requires two separate audio paths.
Next check every microphone position: how high does the microphone need to be, is a boom required and would a desktop arm or overhead stand be more appropriate? Pop filters and shock mounts can then be added according to the recording situation.
Acoustic accessories are the next stage. Monitor pads can reduce direct mechanical transfer to furniture. Reflection filters and mobile absorbers can help in specific recording positions around a microphone. For reliable mixing, however, speaker position, listening position and the acoustic behaviour of the complete room need to be considered together.
The aim is not to buy as many accessories as possible. Add exactly the cable, stand, mount or acoustic solution that solves a specific problem in your existing studio.
Computer, audio interface, microphone, headphones, studio monitors, software, cables, stands and room acoustics all need to work together. Find further routes to a complete and expandable music and recording setup in the central Musikhaus Korn guide.