Computer and DAW
The computer handles recording, editing and mixing. A DAW organises audio and MIDI tracks, effects and virtual instruments inside one project.
View Music Software
Record music, capture vocals, produce beats or start a podcast: you do not need a room full of technology to build a good home studio. What matters is a sensible signal path. This guide explains step by step which devices are really necessary, which components can be added later and how your audio interface, microphone, headphones, monitors, software, MIDI hardware and accessories work together.
A manageable setup is enough for many beginners. The components you actually need depend on whether you want to record a microphone, guitar, keyboard or only virtual instruments.
The computer handles recording, editing and mixing. A DAW organises audio and MIDI tracks, effects and virtual instruments inside one project.
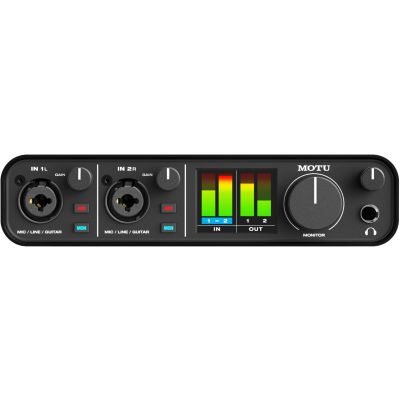
View Music SoftwareThe interface connects microphones, guitars and other audio sources to the computer while also providing connections for headphones and studio monitors.
View Audio InterfacesVocals and acoustic instruments require a microphone. Electric guitar and bass can often be recorded directly through a suitable instrument input.
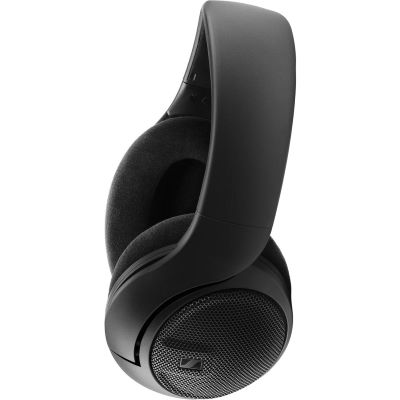
View Studio MicrophonesClosed-back studio headphones allow you to record and monitor without unnecessary playback spilling back into an open microphone.
View Studio HeadphonesMinimal setup: computer + DAW + audio interface + closed-back headphones are already sufficient for electronic music and direct electric-guitar or bass recording. For vocals, speech and acoustic instruments, add a microphone, XLR cable, microphone stand and, where useful, a pop filter.
Once you understand the signal path, planning a studio becomes much easier. You can immediately see which components need to work together.
A voice, instrument, synthesizer or other sound source generates the original signal.
Microphone preamps and converters bring the signal into the computer.
The DAW records, edits, arranges, processes and mixes the tracks.
Headphones or studio monitors make the recording and final mix audible and controllable.
A single vocalist normally requires one microphone input. Vocals and guitar recorded simultaneously need two separate channels. A stereo keyboard generally occupies two inputs as well.
With drums or an entire band, the requirement can quickly grow to four, eight or more channels. Two flexible inputs are therefore a strong starting point for many beginners.
A small delay can occur between the incoming signal and what you hear. Direct monitoring or sufficiently low system latency keeps vocals and instrumental performance immediate and rhythmically comfortable.
The most important starting rule: do not buy as many devices as possible first. Define one specific task – for example recording vocals – and build the complete signal path for that task. Add more equipment only when a new practical goal appears.
Start by checking how many microphone, instrument and line inputs you need simultaneously. One or two inputs are often sufficient for solo vocals, guitar, podcasting and songwriting.
MIDI and additional line connections become more useful when hardware synthesizers are added.
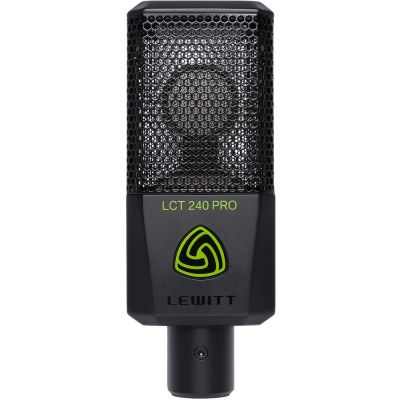
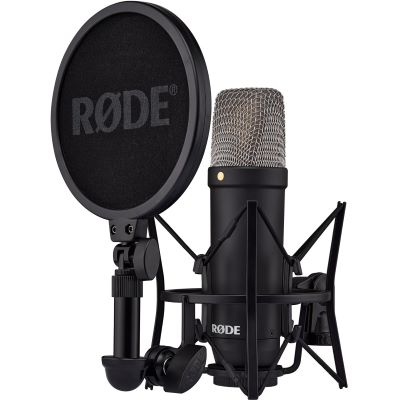
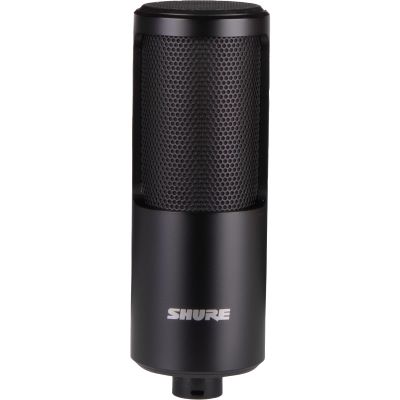
Large-diaphragm condenser microphones are versatile for vocals, speech and acoustic instruments. They also reveal the recording room clearly.
In a reverberant room, closer microphone placement or a more directional or dynamic concept can be easier to control.
Closed construction helps reduce playback spill during recording. Open studio headphones can later provide another useful mix reference.
For the first setup, a dependable closed headphone is usually the more universal solution.
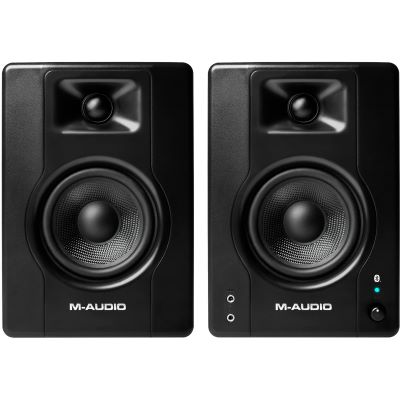
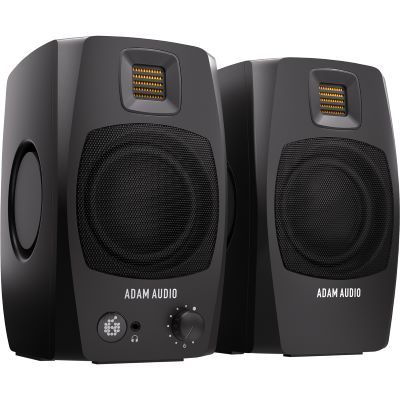
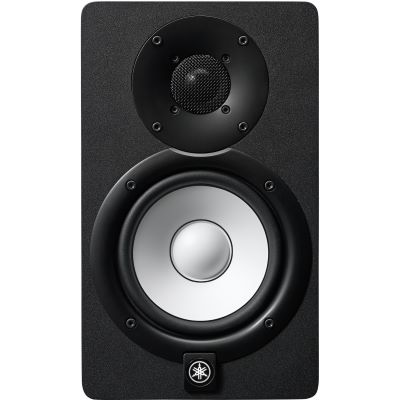
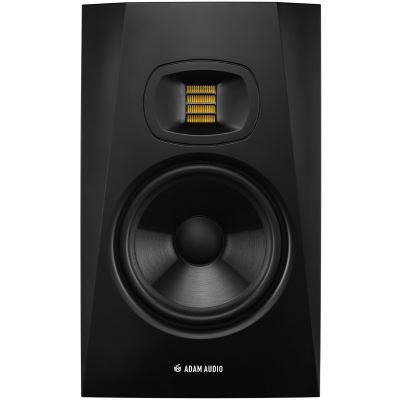
Active nearfield monitors make mix decisions easier, but they need a suitable listening position.
In a small apartment, a good pair of headphones may initially be the more practical solution. Add monitors when space, volume and room placement make sense.
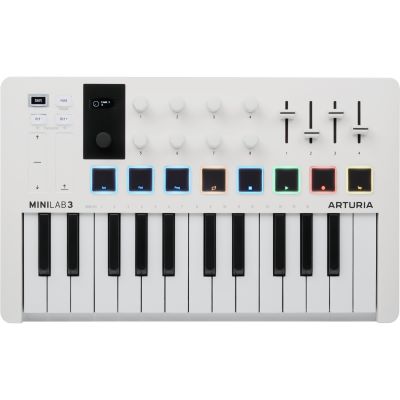
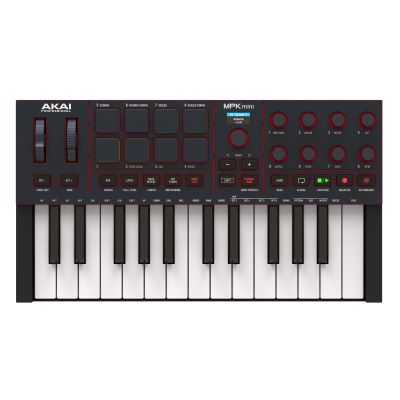
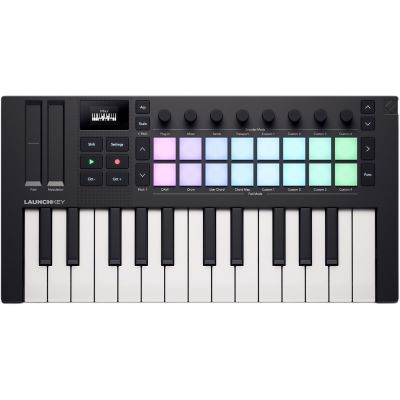
A MIDI keyboard considerably speeds up work with beats, software synthesizers, virtual pianos and other software instruments.
It is not an essential component for pure speech or guitar recording.
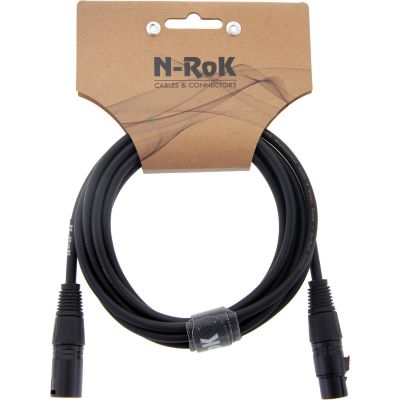
Microphone cables, instrument cables, monitor leads, microphone stands, pop filters and monitor pads determine whether the main devices can actually be used together on the first day.
A useful setup consists of computer, DAW, audio interface, large-diaphragm microphone, closed-back headphones, XLR cable, microphone stand and pop filter.
Choose a recording position with as little disturbing room reverberation as possible.
For direct recording, an interface with a Hi-Z input, instrument cable and headphones are enough.
Acoustic guitar or a real guitar amplifier additionally require a suitable microphone and stand.
Computer, DAW, headphones and a small MIDI keyboard already form a productive base.
An audio interface becomes important as soon as microphones, instruments or studio monitors need to be integrated.
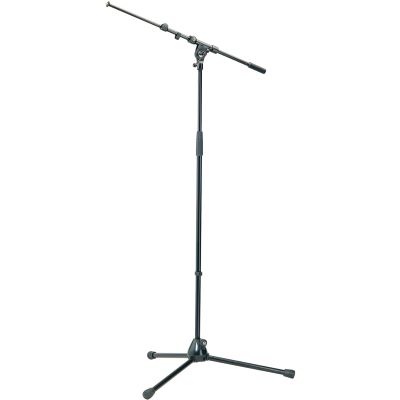
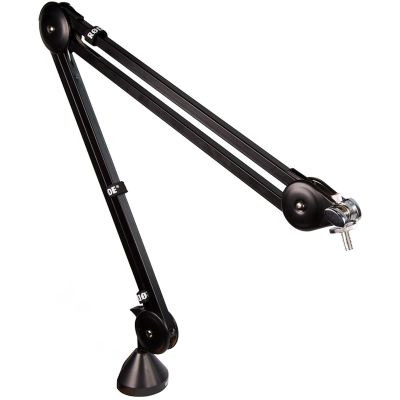
Plan one microphone channel for every person recorded simultaneously. A boom arm keeps the microphone at a consistent distance.
Interface loopback can also be useful for streaming and integrating computer audio.
Instead of using a fixed budget table, compare which components become useful at each stage of development.
| Component | Minimal | Comfortable | Expandable |
|---|---|---|---|
| Audio Interface | 1–2 inputs | 2 inputs + MIDI / loopback | 4+ inputs or digital expansion |
| Microphone | 1 microphone for the main task | Second specialist microphone | Stereo or multi-microphone setup |
| Monitoring | Closed-back headphones | Headphones + monitor pair | Second reference / subwoofer if required |
| MIDI | Optional | 25–49 keys | Larger keyboard or DAW controller |
| Acoustics | Good positioning | Monitor isolation / recording aid | Targeted room optimisation |
The examples are grouped by product type. Decide according to your application and connections first, then compare the models within the relevant equipment class.

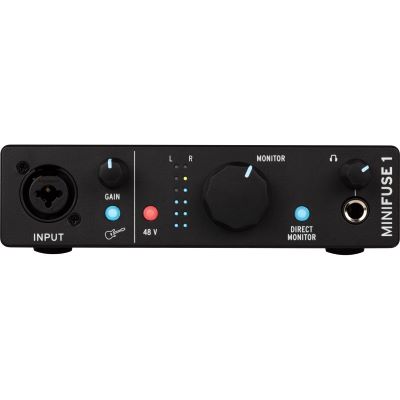
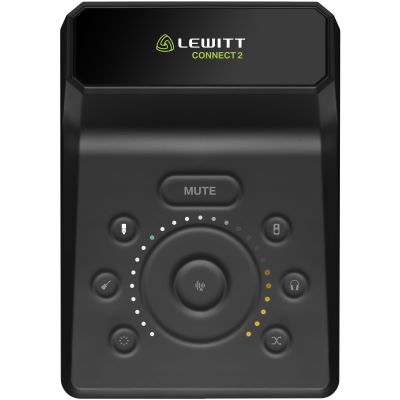
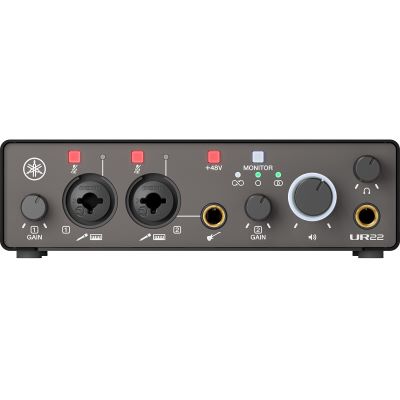
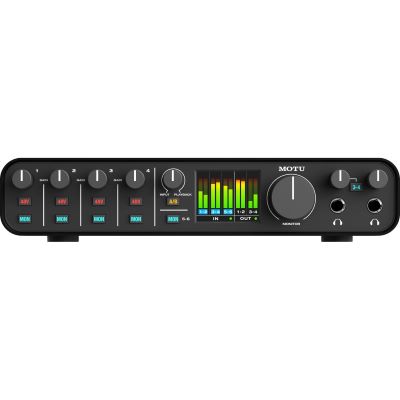
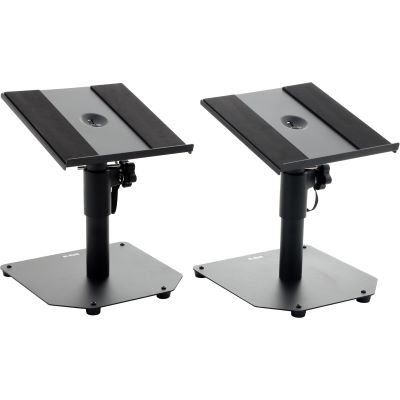
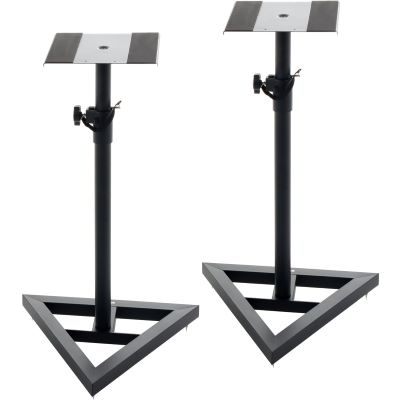
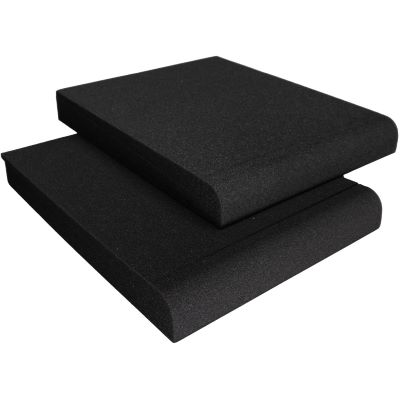
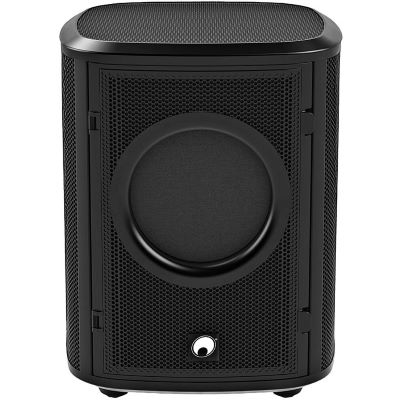
Connect computer, microphones, instruments and monitoring equipment.
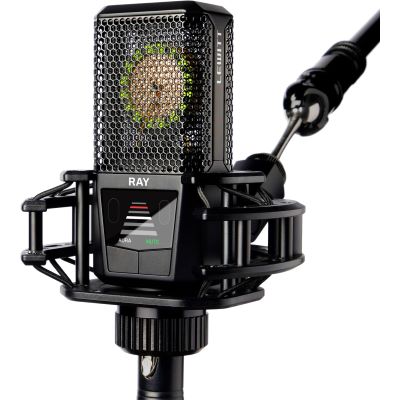
Record vocals, speech and acoustic instruments.
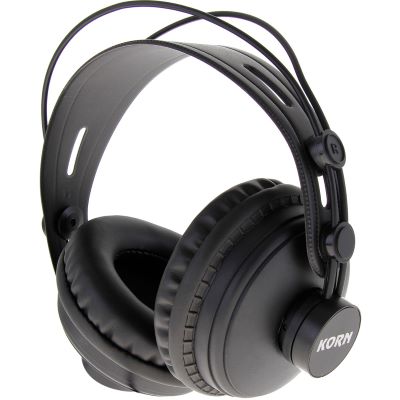
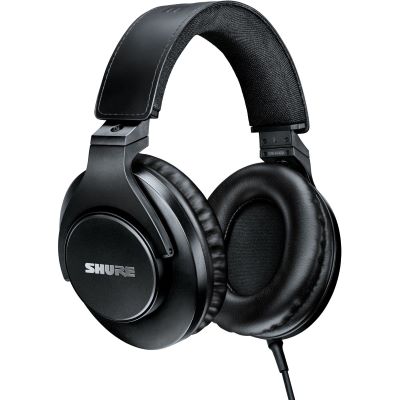
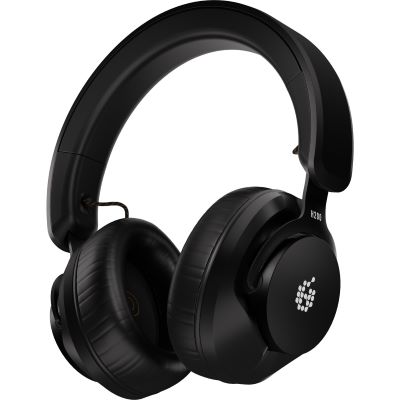
Monitor recording, editing and mixing reliably.
Judge stereo imaging and mixes through loudspeakers.
Play virtual instruments, beats and software synthesizers.
Add software pianos, synthesizers, drums and additional sounds.
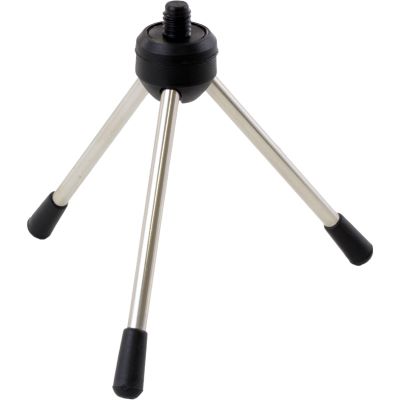
Set microphone distance and direction reproducibly.
Improve monitor isolation and the recording environment.
A perfect room is not necessary when you are starting. It is more important to avoid obviously problematic positions and use the possibilities already available.
Distance from fans, open windows and strongly reflective surfaces can already make a large difference.
A reflection filter does not replace complete room treatment, but it can improve particular recording situations.
Position both monitors symmetrically relative to the listening position where possible.
An approximately equilateral triangle is a useful starting point. Small stands or pads help aim the acoustic axis at the listener.
If you mainly produce at night, the complete setup can initially be operated with headphones.
Studio monitors can be added when the room and neighbour situation allow them to be used sensibly.
Explore manufacturers represented across the beginner interfaces, microphones, headphones, monitors, controllers and accessories featured in this guide.









A small but complete signal path is more useful than many devices between which important cables or functions are still missing.
For beginners, intuitive operation, suitable connections and reliable monitoring are more important than chasing the highest numbers on a specification sheet.
A sensitive microphone and large monitors tend to reveal existing room problems more clearly. Positioning is therefore part of studio planning.
XLR cables, monitor leads, microphone stands, pop filters and suitable USB connections belong on the shopping list from the beginning.
For many projects, a computer, DAW, audio interface and studio headphones are enough. For vocals and acoustic instruments, add a microphone, XLR cable, microphone stand and, where appropriate, a pop filter.
No. Good studio headphones already allow recording, editing and first mixes. Monitors are a useful later step once the available space, permitted volume and room allow reliable placement.
One or two inputs are often sufficient for solo recording. Two inputs are more flexible because, for example, vocals and guitar or a stereo source can be recorded simultaneously.
A large-diaphragm condenser microphone is a versatile starting point for vocals, speech and many acoustic instruments. The room and actual sound source should still be considered when choosing the model.
Only if virtual instruments, beats, software synthesizers or performed MIDI notes are part of your workflow. A MIDI keyboard is not required for pure audio recording.
Yes. An electric guitar can be recorded through an audio interface with a suitable Hi-Z instrument input. Amp and effect simulations can then be used in the software.
A DAW handles recording, editing, MIDI, effects and mixing. Many audio interfaces and MIDI keyboards are already supplied with suitable entry-level software or additional plug-ins.
It is important, but you do not need to start with major construction work. Sensible microphone and monitor positions and avoiding disturbing reflections are the first steps.
Yes. Headphones make almost silent production possible. Electric guitar and electronic instruments can also be recorded directly through the interface. Vocals and acoustic instruments naturally still create their real acoustic volume in the room.
Upgrade according to the bottleneck in your current workflow. More inputs help with several musicians, monitors improve loudspeaker mixing, a MIDI keyboard helps with virtual instruments and additional microphones enable new recording techniques.
A home studio for beginners does not need to be complicated or overloaded. Start with your specific goal and build one complete signal path. For vocal recording, a microphone, audio interface and closed-back headphones are among the most important components. Guitarists can record their instrument directly through a suitable Hi-Z input. Beatmakers, by contrast, often begin with a DAW, headphones and a MIDI keyboard.
The studio then grows together with your projects. Active nearfield monitors complement headphone monitoring, additional inputs allow larger sessions and additional microphones provide new recording techniques.
Cables, stands, pop filters and monitor isolation should be planned just as carefully as the larger devices because these components are what make the complete system practical to use.
The decisive factor is therefore not how much equipment is standing in the room, but whether all components work together sensibly. A manageable studio that you fully understand and use regularly is a better starting point. As your musical requirements grow, expand specifically where the existing workflow reaches a real limit.
From your first instrument and home recording setup to music production, DJ equipment and event technology: the central Musikhaus Korn guide provides further decision support and routes to your complete setup.